Tent Pitching Checklist NZ: From Arrival to a Secure Camp
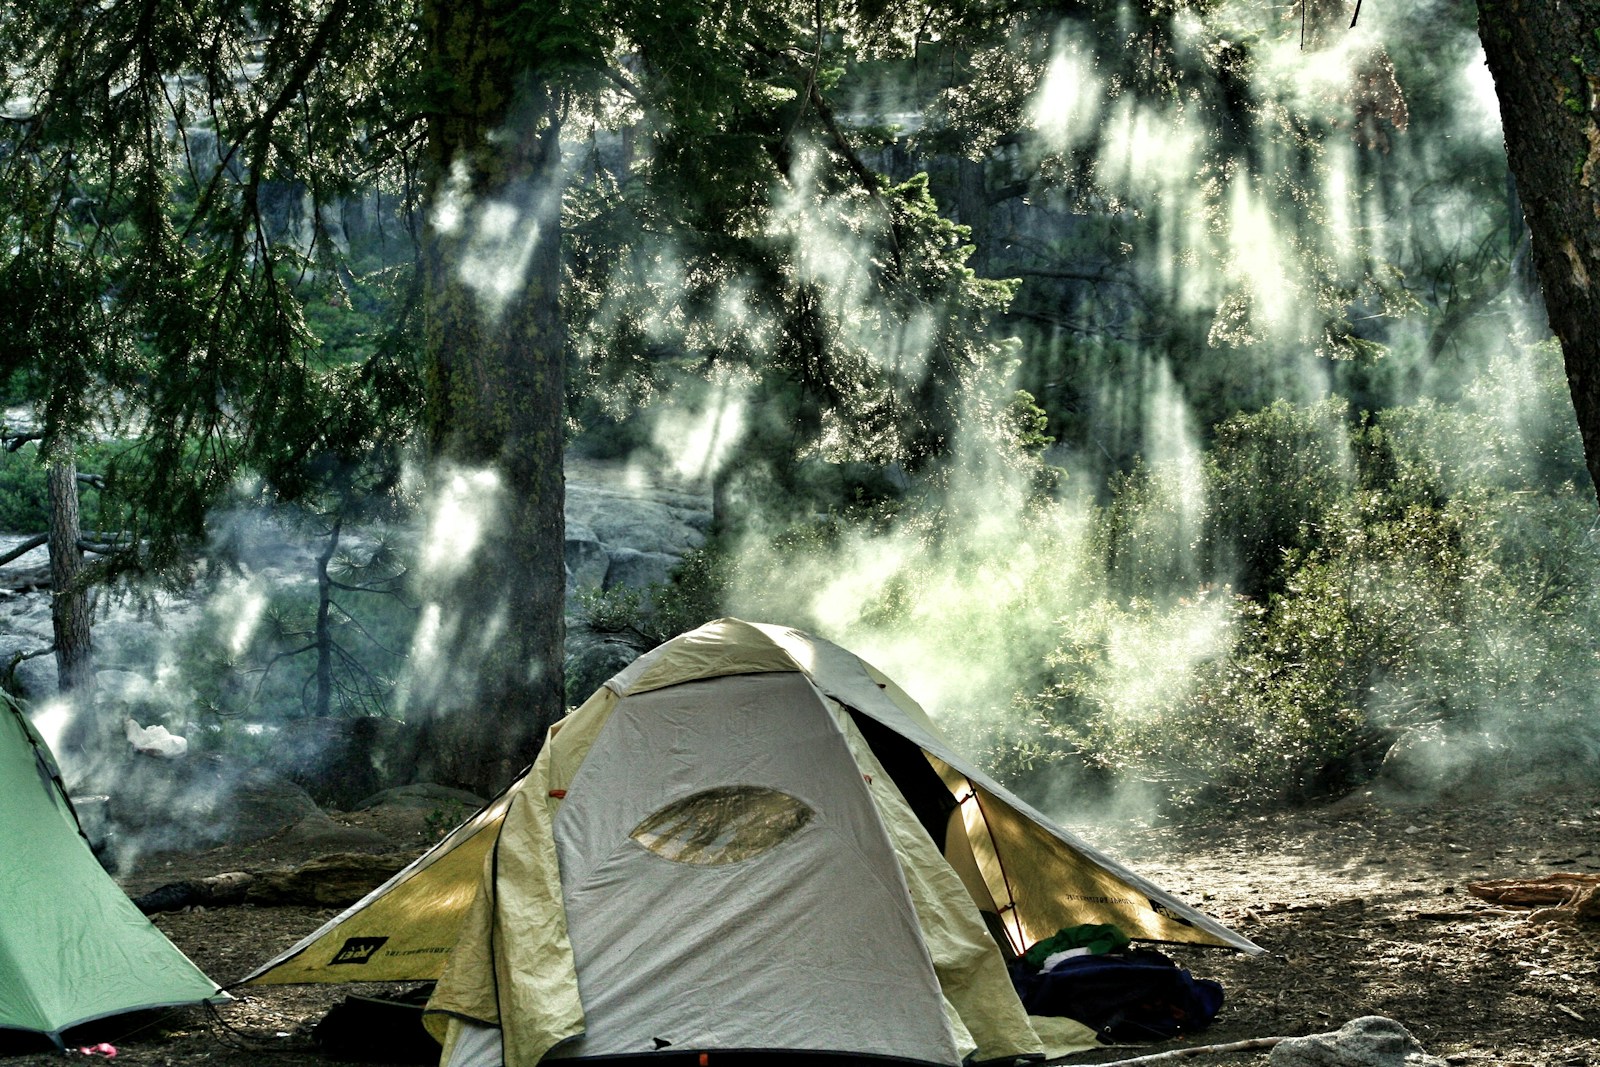
Illustrative photograph. Pitched tents in Yosemite Valley, United States, not a New Zealand campsite or a pitching demonstration.
Photo: Andrew Scofield / Unsplash License / DetailsPitch your tent at a New Zealand campsite with a practical arrival sequence, ground and weather checks, model-specific anchoring and a final walk-around.
Last checked 13 October 2026 / By Outdoor Next / Editorial standards
On this page
Pitch a camping tent by checking the site first, following the exact model's setup instructions, then inspecting the complete shelter before moving bedding inside. This checklist is for introductory New Zealand campground stays, not exposed alpine camping or riding out a storm. It complements the tent buying guide, rather than replacing the manufacturer's manual.
Practise before the trip
Practise the complete setup at home with the people and equipment coming on the trip. NZ Mountain Safety Council's camping advice recommends a trial pitch to find missing items or damage and learn the process before departure.
Lay out the inner, fly, poles or pump, pegs, guy lines and any compatible footprint. Check the manual's parts list, identify attachments and practise adjusting the tensioners. Save the instructions for offline use. If the family has different jobs, rehearse those too, including who supervises children while the shelter is going up.
Check the whole sleeping arrangement during this trial. Use the existing family tent and camping mat guides if the beds crowd the walls or block an exit. Discovering that at home leaves time to change the layout.
Decide whether to pitch at all
Read the local forecast and the operator's current advice before travelling. For conservation campsites, check DOC alerts as well. DOC's Land Safety Code asks you to assess the weather and be ready to change plans.
Name an alternative overnight stay and decide together when you would use it. Do not rely on a successful practice pitch as evidence that the tent suits a more exposed site. MSR does not specify a universal wind-speed threshold for its tents; this checklist cannot supply one either.
Inspect the actual ground
Assess the actual pitch before unloading, even when you have booked the campsite. MSC recommends level, well-drained ground above flood level, away from dead trees, potential rockfall and riverbeds, including islands within them. Shelter from wind is useful only when it does not introduce another hazard.
| Check before opening the bag | Decision to make |
|---|---|
| Water and drainage | Reject hollows or positions exposed to rising water; ask about another permitted pitch. |
| Overhead and uphill hazards | Look for dead branches, unstable trees and cliffs rather than judging only the surface. |
| Ground and vegetation | Avoid sharp objects and locations where the setup would damage native plants. |
| Complete footprint | Allow for the fly, vestibules and guy lines within the operator's allocated space. |
| Access | Keep doors, neighbouring access and shared paths usable. |
Our campsite selection guide covers the wider facilities and booking decision. If this particular patch is unsuitable, ask to move before spreading out your equipment.
Work through the setup in order
Follow your model's pitching sequence and secure its specified pegging and guy points. These are checkpoints for using the manual, not a universal assembly order:
- Choose orientation. MSC recommends keeping the door away from the wind. Check the manufacturer's instructions for the shape and entrances of your tent before fixing its position.
- Organise the next components. Have the required poles or pump and pegs ready. Keep loose bags controlled so the group is not searching for parts while holding fabric.
- Establish the prescribed anchors. Do not assume a freestanding design can be left unsecured. If the ground cannot hold the recommended anchors, reassess the pitch rather than substituting luggage for the completed anchoring system.
- Erect the correct structure. An inner-first poled tent, a linked-inner tent and an air-frame tent are not interchangeable. Use the specified pole connections or pump, valves and pressure procedure for your model.
- Finish the weather layer and guy lines. Check the fly's attachments, door alignment and the separation the design requires between inner and fly. Adjust tension as the manual directs, without distorting the shelter.
MSR's wind-pitching sequence illustrates staged anchoring for its poled tents. Zempire's air-tent overview describes pegging, inflation and completing the remaining points. Neither is a substitute for another model's manual. For groundsheet decisions, use the existing tent footprint guide.
Walk around before moving in
Check every required anchor and attachment, open and close the doors, and confirm that vents are set as the manual requires. Keep bags and beds clear of entrances. Recheck the setup if weather or ground conditions change, and use the alternative plan if the location no longer suits.
Keep stoves, barbecues and fuel-burning heaters outside the tent and vestibule. WorkSafe's appliance advice warns about carbon monoxide in confined spaces. Opening a tent door is not a reason to cook inside. Arrange a suitable permitted outdoor cooking position or a no-cook meal; see the stove guide.
Before you go
- Complete a practice pitch and replace missing or damaged parts.
- Save the model's instructions, booking details and a checked alternative.
- Recheck weather, access and site notices.
- Pack the prescribed anchors, pump if needed and compatible repairs.
- Put shelter and bedding on the camping checklist.
- Plan where to dry the tent after returning, using the cleaning and storage tutorial.
Related Outdoor Next reading
- Camping in the rain: decide whether the wet-weather trip should go ahead.
- Tent condensation and leaks: investigate moisture without assuming the fabric has failed.
- Packing list: organise the rest of the camp.
Sources & official links
- Camping: campsite selection, pitching and packing up (NZ Mountain Safety Council)
- Land Safety Code (Department of Conservation)
- Alerts and important notices (Department of Conservation)
- How do I set up a tent in the wind? (MSR / Cascade Designs)
- How much wind can my MSR tent withstand? (MSR / Cascade Designs)
- Air Tents Explained: setup and care guidance (Zempire NZ)
- Camping appliance safety (WorkSafe New Zealand)
Frequently asked questions
Does a freestanding tent still need pegs and guy lines?
Do not treat freestanding as permission to leave a tent unsecured. Follow the manufacturer's anchoring instructions, including the prescribed pegs and guy lines. If the ground will not hold that setup, choose another suitable permitted pitch or change plans.
Which way should the tent door face?
NZ Mountain Safety Council recommends facing the door away from the wind. Check your model's orientation instructions too; a tent's shape, entrances and required anchor positions can affect the layout.
Can I use the same setup steps for poled and inflatable tents?
No. Inner-first, fly-first, linked-inner and air-frame designs have different sequences. Use the manual for your exact model, including its pump and pressure instructions where applicable.
What wind speed is safe for my tent?
There is no universal number established by this checklist. MSR says it does not give a specific wind-speed threshold for its tents. Use model-specific advice, the forecast, site exposure and your experience, and change plans before conditions exceed them.
Keep planning